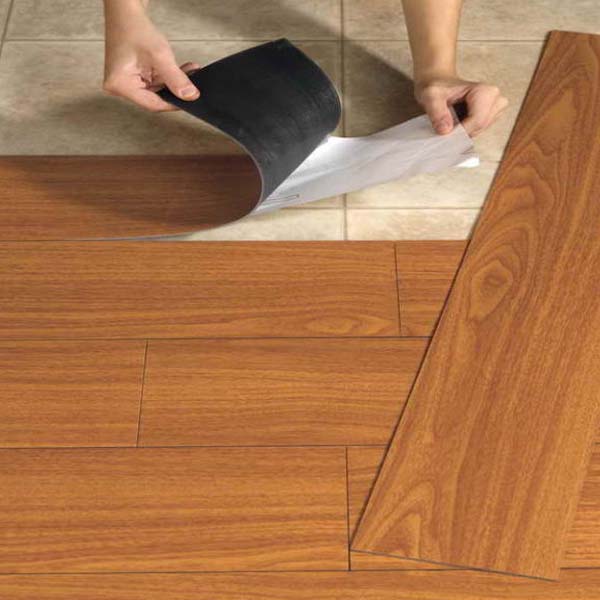
Changing the old carpet with new flooring by yourself sometimes can be difficult, well not with laminate flooring. Laminate flooring may be the only floor you do not need to spend so much money on contractors and Home improvement companies. As a matter of fact, if you are a little bit handy person you can do it, it does not matter if you are a man or a woman. There are a few steps you need to do and take care before you install your new Laminate flooring.
The Tools you will need for the installation are:
A rubber mallet, laminate flooring pull bar, tape measure, coping saw, utility knife, hammer, nails, laminate flooring, and underlayment. In order to do it right when the material arrives read all the instruction on the box and remove the plastic wrapping from the boxes and let them flat on the floor so they can acclimate for at least 48 Hr. After that check what type of subfloor you have, there are only two options:
- Concrete
- Plywood
Installation of Laminate flooring over a concrete takes a few steps:
First, you will need to lay down a vapor barrier to keep your moisture factor to a minimum and you should join all the edges together with a moisture resistant tape. Before you install any laminate on concrete do a concrete test: The moisture resistant tape should be 2 x 2pieces of 6 mil or similar poly film to the slab in several areas of the layout. Make sure all the edges together and sealed and leave it for 24-48 Hr. If the color change you have a moisture problem and you will need to take care of it before installing the Laminate flooring. Moisture problem can evolve into health and safety issues caused by mold, mildew and floors lifting. Consider surface-applied vapor retarders to block moisture emission from the concrete. After you put a sealer on the slab and you let it dry well you are ready to install your laminate floors. Since this is a floating floor it is better to use spacers around the room for an expansion gap so your flooring will be able to expand and contract when humidity changes.
There are a few different underlayments you can use:
- Blue /green regular foam with moisture barrier protector.
- Quiet Step, Non-woven, padded felt underlayment with moisture beerier.
- Green Foam, silent green underlayment 3 mm, High density, thick green foam with a moisture barrier.
- High-density blue foam with aluminum, the backing of 3 mm for a moisture barrier.
- Black EVA Foam Underlayment with aluminum back 2mm , High-density black EVA Foam with aluminum backing for a moisture barrier.
- Flat rubber underlayment with aluminum backing of 2mm for a moisture barrier.
The underlayments usually cover 100-200 sq/ft per roll.
First floor will be either concrete or plywood as far as second floor in most of the cases it will be plywood. In a plywood case, you will need only underlayment and the flooring, there will be no need of any moisture tests or sealer to apply on the plywood. As far as the second story if you have high traffic area in order to have better sound control you can have cork instead of the underlayment. Now that you are ready to install after you lay down the underlayment/cork , you will hold each board for about 45 degrees angle and because it is a floating floor and has a click system all you need to do is just attach one board to the previews one and press stand on it just snapped and place. While you installing to prevent gaps just attach one piece of wood to the other side and with a hammer just tap on it until the gap is closed.
After you finish lying down the planks you are ready to take of the spacers and install any trims or moldings you have chosen. You can choose either quarter round or baseboard to put against the wall. The last part is to put the transitions each one in his place.
There are 3 transitions:
End mold known also as threshold use for sliding doors and entrance doors. Reducer use if you have different heights between the old floor and the new floor. T-mold use if both of the floorings is the same heights.
That is it, for now, I hope this will be helpful and you will not be afraid of a D-I-Y projects

